English
 中文简体
中文简体
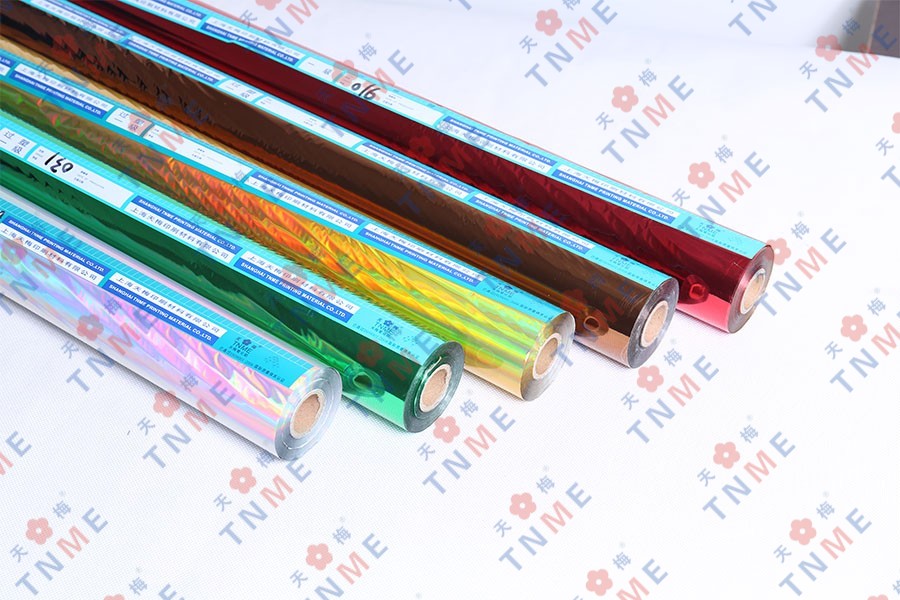
Introduction Of Transfer Foil
It's honestly not easy to resist a sparkle. So why not add a little (or more) sparkle to your mixed media art?
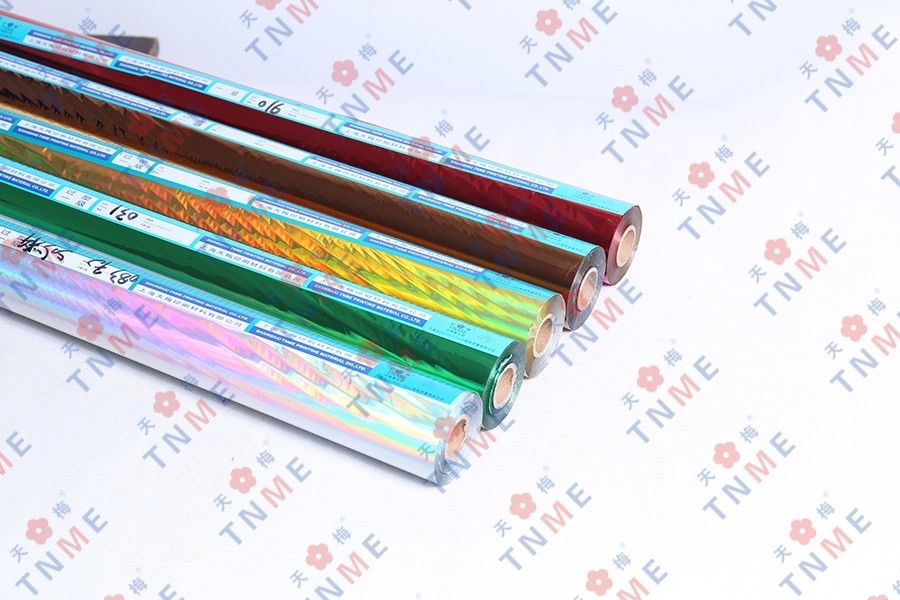
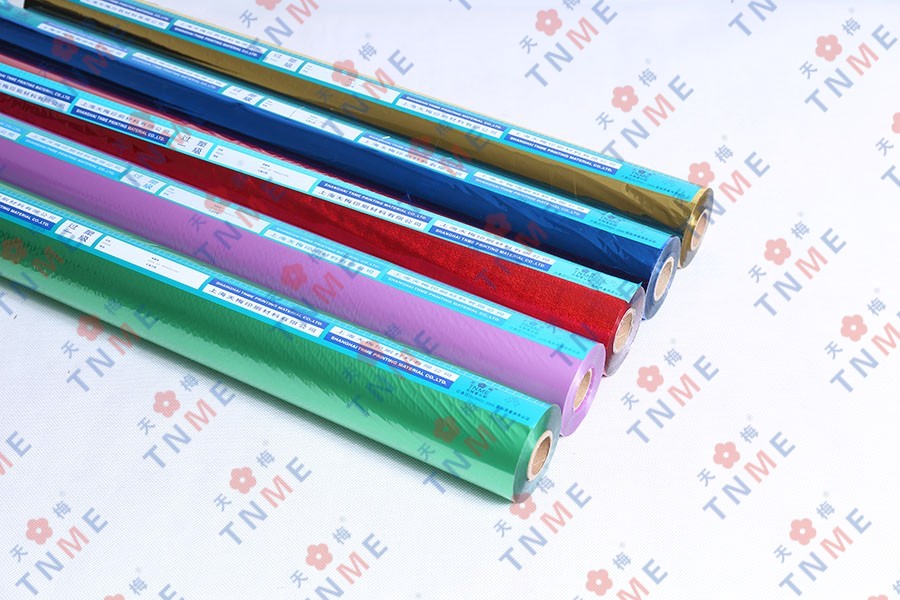
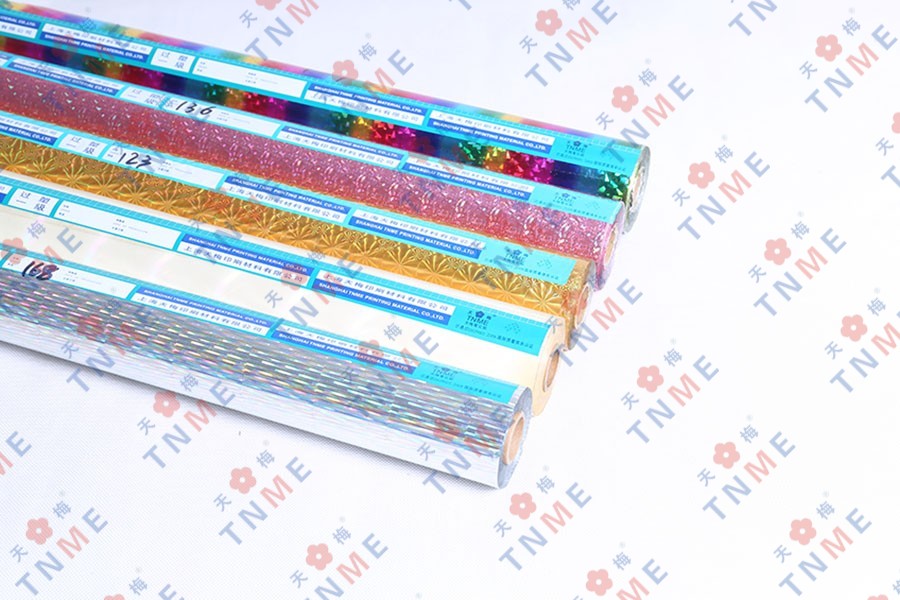
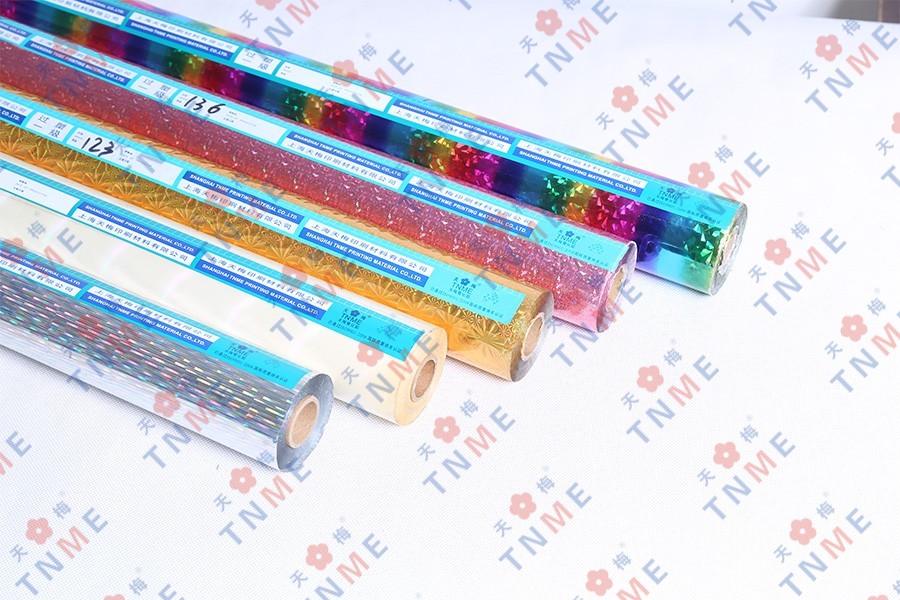
A lot of people get confused when it comes to using aluminum foil in their compositions and think I'm referring to aluminum foil or some kind of metal plate. The more accurate term I use is transfer foil. Artists and crafters often use metallic transfer foil because it's the easiest type of foil to find. Transfer foils are also available in matte, clear, tinted, pigmented, pearlescent, holographic, patterned, and more.
The transfer foil consists of three layers: the upper layer is: Transparent plastic film
Middle layer: one color or pattern
Lower layer: dark layer, usually silver or light gold
Transfer foil needs adhesive to grab it and pull it off the top layer of plastic film. That's why you should always use "color or pretty side up" foil. Many people intuitively want to have it colored side down. If you find your transfer doesn't work, maybe you turned the foil upside down; try the other side and see if it works. Silver can be tricky because it has a silvery shiny top surface (clear plastic film) and a dull silvery bottom. Remember: it's dark side down and pretty side up.
Adding transfer decals to scrapbook pages, handmade cards, and mixed media art is a huge trend with a fancy laminator. While a machine is a great way to apply foil, the process can also be done using a less expensive laminator or an iron. When heated, the foil will stick to the toner and leave a beautiful shiny impression wherever the black toner is. For me, the most amazing part of the process was pulling the foil off the copy to reveal the foil negative. Many people discard these lovely negatives, and many save them but don't know how to incorporate them into their art.